- US Wellness Meats Review: What You Should Know Before Buying - April 12, 2023
- Smoked Chuck Roast vs Brisket: Which Cut Is Better Quality? - September 22, 2022
- Porterhouse vs Ribeye: Which Steak Wins? - July 25, 2022
Nothing says ‘summer’ like the smell of meat cooking over charcoal – but how do you learn how to grill like a pro?
If you’re new to grilling, or you’ve tried it multiple times but your food is missing that smoky ‘wow’ factor, we may be able to help you figure out what to do. There’s a lot to cover – should you choose gas or charcoal? What are heat zones? How do you prep your meat for maximum flavor?
Don’t worry – we’ll cover all that.
Plus, we’ll look at:
- The tools you’ll need
- Setting up your grilling space
- The importance of letting the meat rest
- What to do with veg
- And, very importantly, we’ll look at what not to do.
Keep reading to give your grilling skills a significant boost!
Gas or Charcoal?
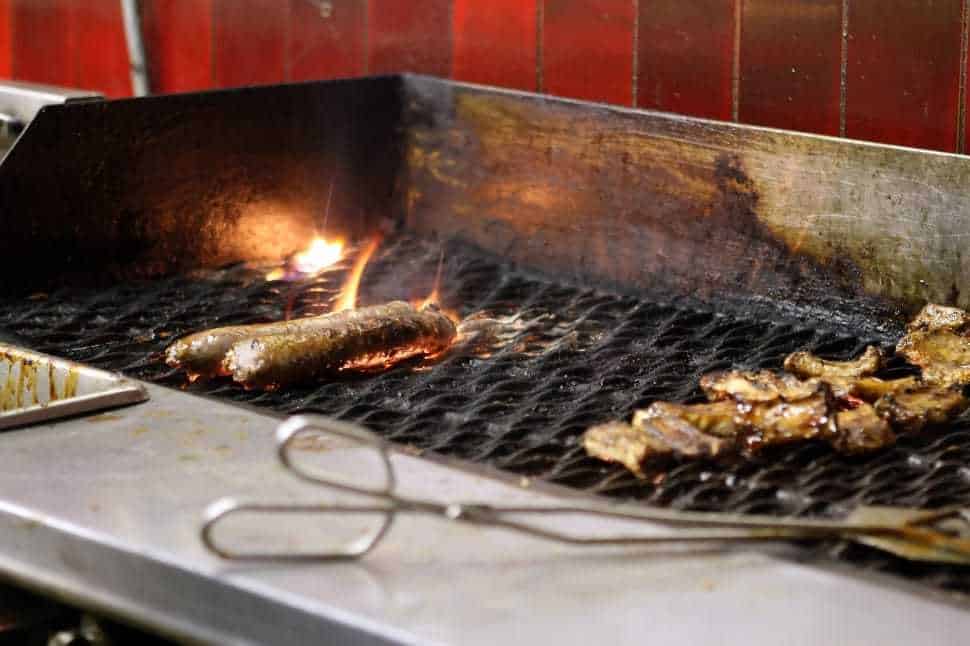
There are pros and cons to gas or charcoal grilling.
Grilling over gas is a bit like cooking on a regular gas stove – just in your garden instead of in your kitchen. It’s easier, as you can control the temperature using the dials, and it’s quicker to get going. However, you’ll be sacrificing the smoky, savory flavor that charcoal brings.
Charcoal gives you the benefit of extra flavor and higher temperatures, but it takes a little while to get going and can be a little less predictable in terms of heat control.
Our Top Grill Recommendations
We’ve picked three of the best gas and charcoal grills for you to take a look at if you haven’t got one yet:
Gas
Char-Broil 463377319
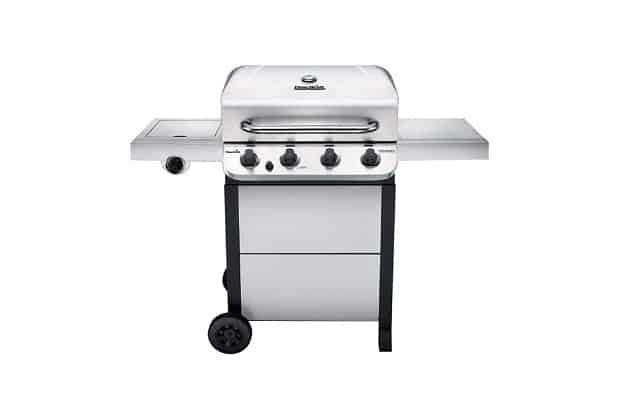
The Char-Broil 463377319 looks pretty impressive, and it’s got a lot of great features – it’s a sleek, stainless-steel grill with a removable grease pan for easy cleaning. It has four burners, electronic ignition, and two side shelves for extra storage space.
This versatile grill offers sufficient cooking space whether you are grilling for a few friends or at your next backyard party.
Dyna-Glo DGB390SNP-D
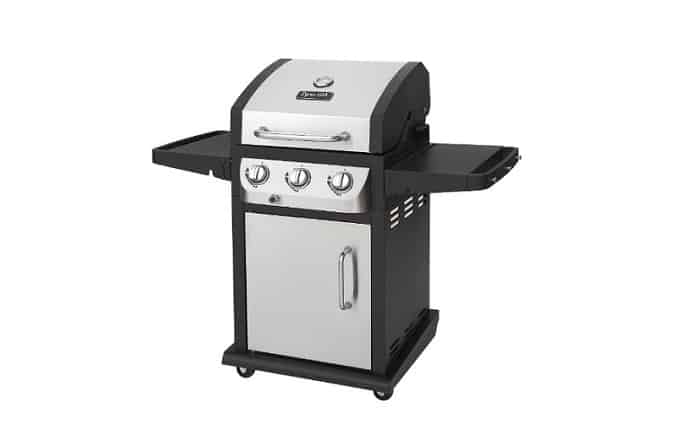
If you don’t have a lot of space, the Dyna-Glo DGB390SNP-D is a great model that is designed specifically to be compact. It has an easy ignition system, three burners, and cast-iron cooking grates.
Are you ready to take your grilling to the next level of performance? This Dyna-Glo grill will equip your patio or deck with a durable, high-performance cooking system that friends and family will gather around for many years to come.
Weber 45010001 Spirit II
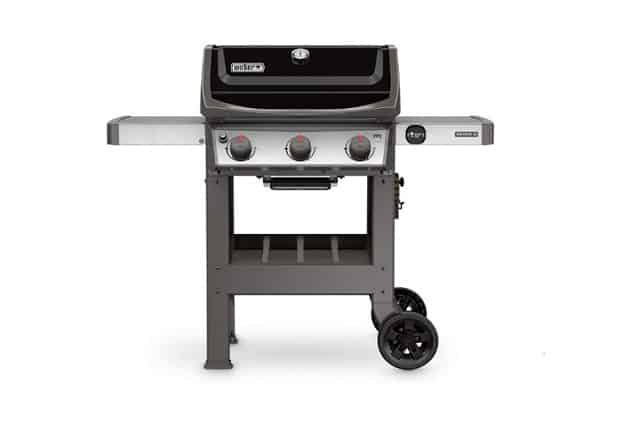
The Weber 45010001 Spirit II is a great option, with porcelain-enameled cast-iron cooking grates, an open-cart design with two wheels, and side tables with integrated hooks for your tools.
Get ready to step up your grilling experience. As the family sits down for dinner, or a couple of friends come over for a bite - This three-burner grill will do its magic.
Charcoal
Royal Gourmet 30” Grill
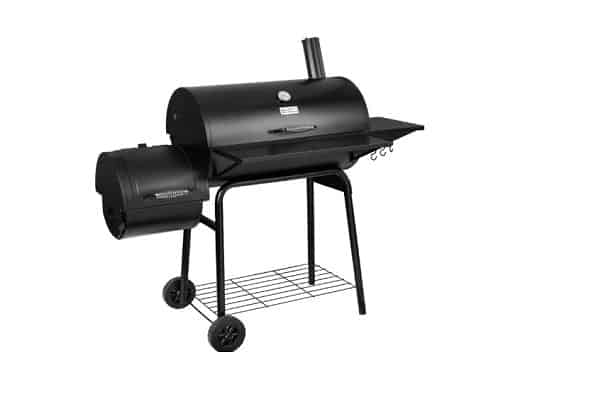
The Royal Gourmet 30” Grill is a sleek-looking grill with a removable charcoal and ashes pan with a separate smoker on the side – this can be controlled separately and is great for side dishes.
Royal Gourmet CC1830S Charcoal Grill with Offset Smoker can solve all the difficulties for each smoking aficionado. Spacious grilling space as you need and an only a small amount of effort that you will put into are decided advantages, first and foremost, it meets your budget.
Cuisinart CCG190RB Portable Charcoal Grill
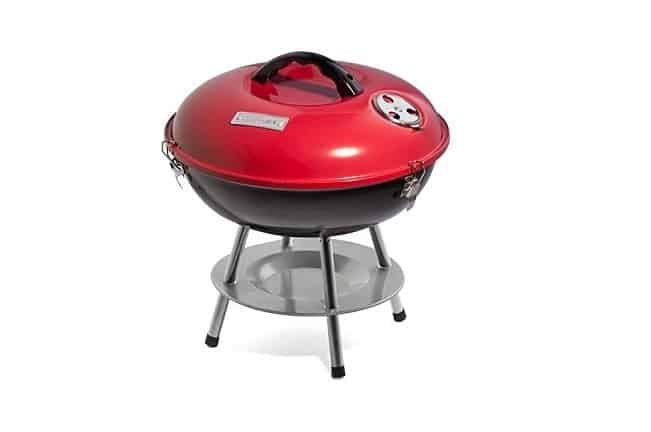
If you want a super-cheap portable choice, the Cuisinart CCG190RB Portable Charcoal Grill is a neat grill with an ash catcher for easy clean-up on your next camping trip.
The Cuisinart Portable Charcoal Grill is made for grilling at the places you love most. It weighs only 2 lbs. and its space-saving size fits neatly into the trunk of a compact car, which makes it easy to take with you wherever you go.
Char-Griller EO6614
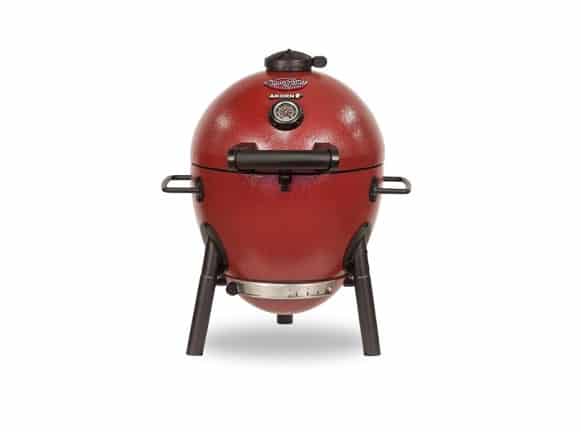
The Char-Griller E06614 is a really compact, Kamado-style grill (these are egg-shaped grills that are particularly good for imparting smoky flavor into food), with an easy ash-dump pan and great insulation to trap in heat.
The Char-Griller AKORN Jr. Kamado Charcoal Grill and Smoker gives you all the power of a full-sized AKORN in a portable package. Featuring dual air dampers, a temperature gauge, easy lift handles, and its signature triple-walled insulation, the AKORN Jr. delivers a superior cooking experience in the backyard or on the go.
Pick the Right Tools
You could spend a lot of money on tools for grilling – there are tons of gadgets out there, from motorized cleaning brushes (to make cleaning easier) to Himalayan salt plates (for even cooking and added depth of flavor). There are only a few tools that you really need to grill like a pro, and here they are:
Grill Brush
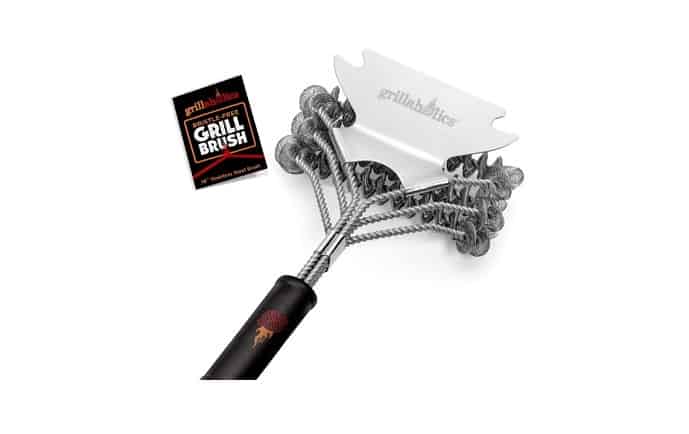
A stiff wire brush will clean all the gunk off your grill, so it’s a must-have to keep your grill in good condition. This wire brush by Grillaholics is particularly good because it has three brush heads, so it will give you extra scrubbing power.
Nothing brings a family together more than enjoying barbeque that's fresh off the grill. Keep your grill clean and your family safe with our 18" long bristle-free grill brush so you can create even more family memories.
Tongs
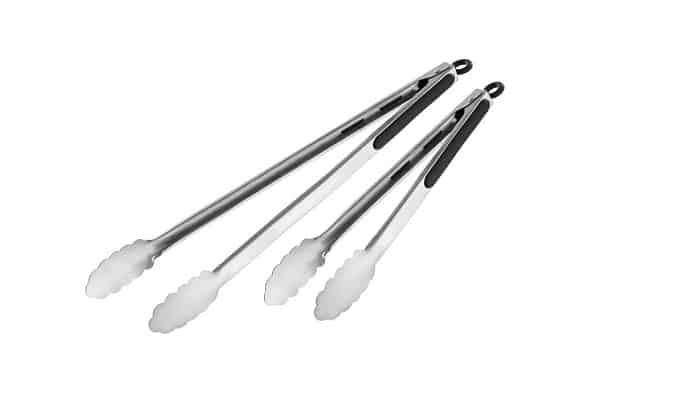
To pick up your meat, you’ll need a good pair of tongs. Go for long-handled tongs to keep your arms away from the heat and consider getting two pairs – one for handling raw meat, and one for handling cooked meat, to prevent cross-contamination. (Ideally, these will be in different colors so you can easily differentiate between them).
This is a good set from PBKay, as they’re heavy-duty and come in two different sizes.
Set of 2 heavy-duty stainless steel strong grip tongs,12” & 16". Made of high-quality stainless steel to prevent rust. Non-slip rubber handle for easier grip.
Gloves
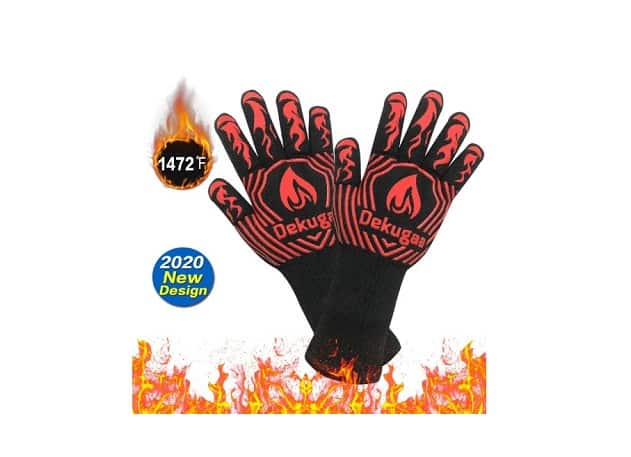
To protect your hands whilst handling hot objects, you need a decent pair of gloves. You can get silicone, leather, fabric, or synthetic gloves. They each have their own merits:
- Silicone gloves are great because they’re so easy to clean, but they don’t tend to fit as well
- Leather gloves are very thick, so great for protecting you, but can get worn down after a while
- Fabric gloves are comfortable, but you can’t handle food directly with them
- Synthetic gloves are a bit like dish gloves, but you can’t use them when they’re wet
If you want comfort and heat protection, go for the SARCCH BBQ Gloves – they’re made from the cotton lining, so they’re nice and comfortable, but have silicone non-slip grooves on the outside.
Meat Thermometer
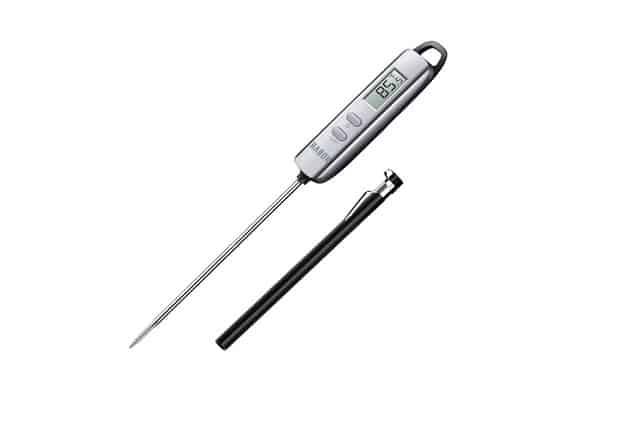
This allows you to probe your meat to check if it’s cooked. For reference, here’s a list of safe temperatures for different types of meat:
- Ground beef, pork, veal, lamb – 160°F
- Ground turkey, chicken – 165°F
- Fresh beef, veal, lamb (steak, roasts, and chops) – 145°F (but the meat must be left to rest for 5 minutes)
- Poultry (breasts, whole bird, legs, wings, thighs, ground poultry, giblets, and stuffing) – 165°F
- Fresh pork and ham – 145°F (rest time – 3 minutes)
- Fish with fins – 145°F
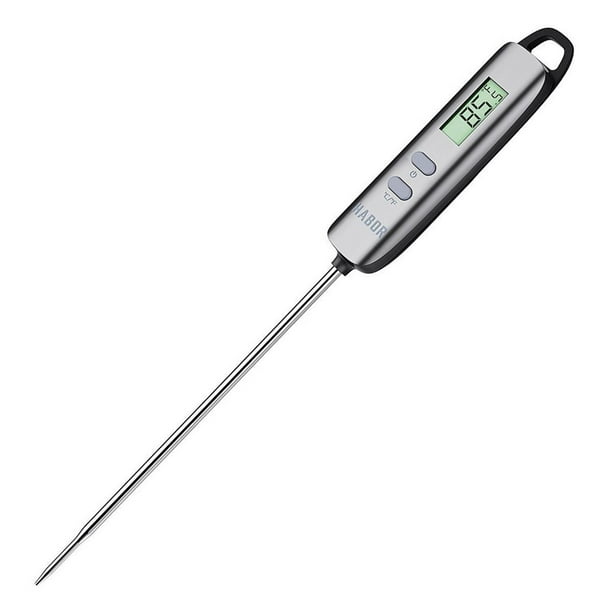
You can find out more about safe cooking temperatures here. A good example of a decent meat thermometer for grilling is this one by Harbor – it’s got an extra-long probe and has a 4-6 second response time, so it’s super fast.
The cooking thermometer will instantly display precise temperature readings for meat, foods and liquids in 5 seconds. Comes with a convenient plastic sheath with pen clip to safeguards the meat thermometer probe against any possible damage when not in use.
Basting Brush
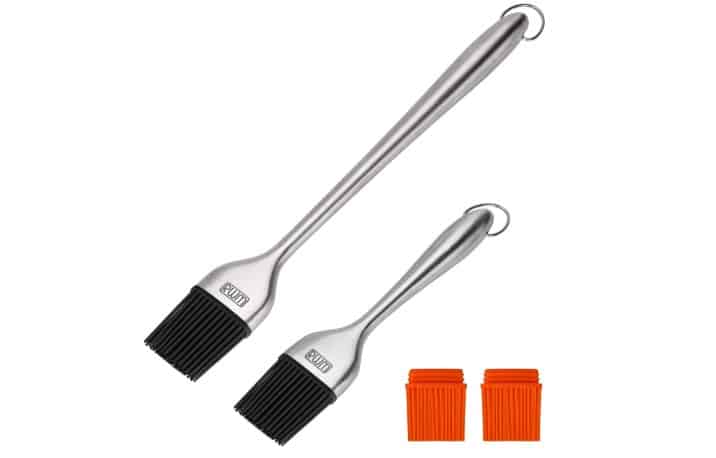
The key to delicious meat is a good marinade, and you need something to brush your meat with from time to time. A marinade brush allows you to evenly distribute your chosen marinade over the meat. This is an affordable pair by RWM, made from silicone, so you don’t have to worry about stray brush hairs falling into your food (which can be a problem with traditional wooden brushes).
RWM cooking brush is rated #1 and cooks everywhere love using them. The attractive design and black or orange add color to your kitchen tools and make all basting jobs easy and simple.
Meat Shredder
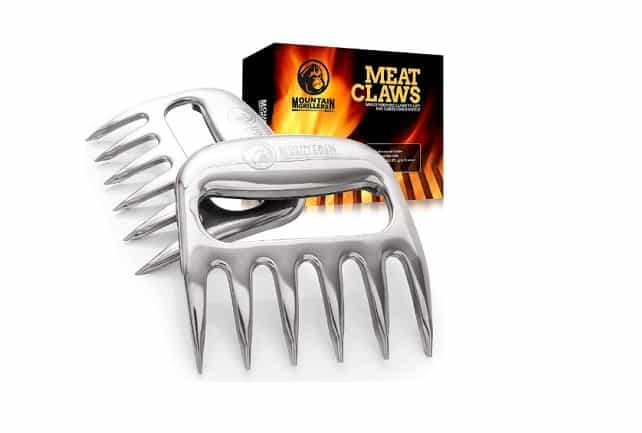
Nothing tastes quite as good as sweet, smoky pulled pork – a good pair of shredding forks or meat claws can help you to shred meat evenly without burning your fingers. This is a good one by Mountain Grillers (and they look pretty epic too).
Grill Basket
If you’re cooking delicate or small pieces of food, a grill basket is your best bet. You can get different sizes – for example, fish baskets are great for cooking whole fish – but it does make things easier as it allows you to turn the grill basket for even cooking, instead of having to turn each tiny piece individually.
If you want to cook whole fish, go for this – it gives you space for three smaller fish in individual compartments. Or, this is a neat choice – it’s a square vegetable grill basket which doubles up as a wok, so you can do stir-fries outside!
Aleath grill baskets are made of top-quality 304 food-grade stainless steel, long-lasting use, and doesn't get rusty that is safe to use and will not warp or twist. The 11.5 inches long detachable handle provides a safe and comfortable grip.
Rib Rack
This allows you to cook ribs vertically – this saves space, so you can cook more food at once, and also allows the fat to drain away from the meat. This is a simple option that will give you space for four ribs.
Set Up Your Space Properly
It’s good to set up your grill space properly before you start. You want to create a few separate areas to help keep things organized, especially if you’re grilling large amounts of food. Have an area for raw meat and veggies (with the tools you’re specifically using for uncooked food), and an area for cooked meat (again, with separate tools). Keep your gloves nearby, and you’ll be all set.
Grease Your Grill
Before you start – grease your grill! This prevents the food from sticking. You can buy oil sprays, which are very simple to use, or you can dip paper towels in oil and use tongs to spread it across the grill. There’s no need to use expensive oil here – canola or grapeseed are inexpensive and will do the job just fine.
Set Up Heat Zones
Ideally, you want two heat zones on your grill – a hot side (direct heat), and a less hot side (indirect heat). This is useful for a few reasons. If you want to cook a steak, for example, you can quickly sear it using direct heat, and then move it over to indirect heat to finish.
Or, if you’re cooking chicken, you can let it cook through using indirect heat before finishing it off using direct heat. This is a really simple way to ‘level up’ your grilling as it allows you to treat each type of meat differently.
On a gas grill, you can do this by turning the burners up high to get the whole grill nice and hot, before turning off one side. Or, if you’re using charcoal, simply pile up more coals on one side and fewer coals on the other.
Also, a word of note – give your grill a good amount of time to heat up before you start (around 15 minutes for a gas grill or 25-30 minutes for a charcoal grill). This will ensure you get those tasty ‘chargrilled’ marks on your meat for maximum flavor. High heat will ensure that any sweet marinades you’ve created caramelize, giving the meat a delicious crust.
Prep Your Meat
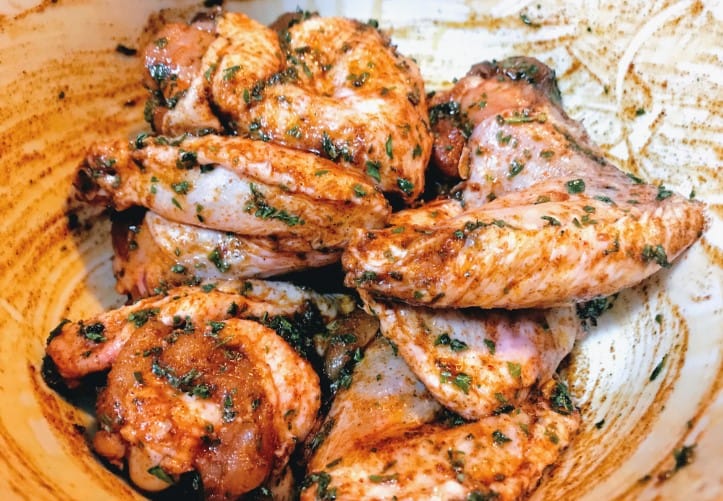
Marinades and Rubs
With a little work beforehand, you can create mouth-wateringly delicious food. Marinades or rubs take minutes to make, but you do need a bit of time to allow them to penetrate the meat.
Marinades are liquids, made from herbs, spices, oil, and acid of some kind (normally lemon or lime, or vinegar). The flavor the meat and tenderize it at the same time, making it a great choice for tougher cuts of meat. The acid part breaks down connective tissues, making it much nicer to eat.
The longer you leave your meat to marinate, the softer it will be. If you’re working with a particularly tough cut of meat (say a flank steak), you can leave it to marinate overnight (in the fridge – otherwise you’ll risk food poisoning). Softer meat or poultry should only be left in the marinade for two hours or so or you risk turning them to mush.
A rub is an almost-dry mixture of herbs and spices, which will flavor the meat without tenderizing it. You can make one by mixing your chosen herbs with a tiny amount of a wet ingredient (like an oil or soy sauce) to create a thick paste. You can then pat it gently onto the meat to create a coating. You can apply the rub a few hours before grilling for maximum flavor.
There are thousands of marinade and rub recipes online, but you can probably make one just using ingredients you already have. A good rule of thumb is three parts oil to one part acid, with any combination of herbs and spices that you want to use. Don’t forget to include salt, too.
Flattening Meat
It can also help to flatten your meat a little beforehand. Burgers, for example, can be flattened ever so slightly in the middle. This stops them from puffing up in the center, giving you a nice even surface when cooked.
Chicken breasts can also benefit from flattening before cooking, as they tend to be far thicker in the middle, meaning you risk either having an undercooked center or overcooked edges.
To flatten meat, put it in a ziplock bag, and use anything you can find – you don’t need a meat tenderizer if you don’t have one. Rolling pins work really well.
Wrap with Foil
If you’re cooking meat with exposed bones, wrap the bones in foil before cooking. This will prevent the bones from charring.
There are some things that really benefit from being cooked in foil. Fish, for example. It essentially means you’re steaming the fish rather than chargrilling it but will leave you with a soft, flaky texture.
Let Your Meat Rest
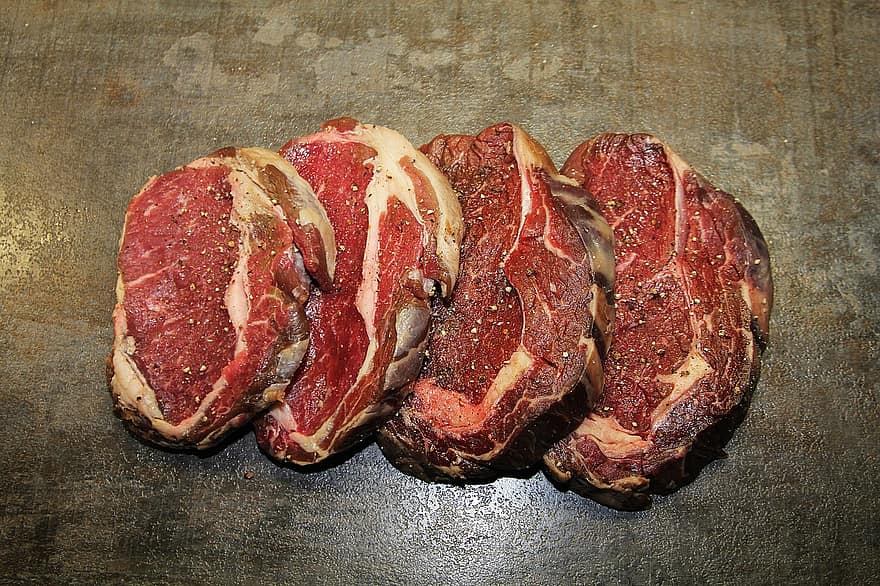
Certain types of meat (like steaks) benefit from having five minutes to rest on a cutting board. This allows the juices to settle back into the meat, giving you a nice, juicy steak. Some people swear by leaving burgers to rest on a rack covered in foil. This keeps the burgers hot whilst allowing some of the fat to drip out.
Don’t Forget the Veg
Don’t forget about veggies! Corn is an obvious contender here, but there are tons of veggies that cook really well on a grill, including:
- Portobello mushrooms
- Zucchini
- Eggplant
- Bell peppers
- Onions
- Asparagus
- Cauliflower
- Sweet potatoes
- Potatoes
- Summer squash
- Okra
Veggies can be wrapped in foil to steam or placed directly onto the grill (smaller vegetables might be better off in a grill basket to prevent them from falling through the gaps).
You’d be surprised at how many vegetables work really well grilled, so if you want to try something different, chop up a selection of veggies and give it a try. Harder veg like corn can take around ten minutes to grill, while very soft veg (like asparagus) only takes around four minutes or so.
Here’s an extra pro tip: put your veggies in an ice bath before you grill them. This will make them crisp and moist when they’re done cooking.
Clean-up
The downside of grilling like a pro? Cleaning up afterward. The last thing you wanna do after a long day spent grilling is to stand outside scrubbing, but it’ll be worth it for a ton of reasons. For one thing, having old grease hanging around on your grill can attract pests like rats.
Plus, having your grill clean and ready for next time will help you out, as a clean grill heats up faster than a dirty one, and you’re less likely to have flare-ups that can be caused by accumulated grease over time.
You don’t need to do a deep clean every time you use it. Just wipe down the exterior, use your grill brush to brush the grates, and that’ll be about it. You can burn off excess grease every now and then by putting your grill on high heat for 15 minutes or so – this can help prevent build-up, which can cause the flares we talked about before.
Deep cleaning only needs to be done maybe once or twice a year. This involves pulling out the grates and giving them an extra good scrub on both sides, washing the burner protectors (if you’re using a gas burner) with soapy water and a sponge, wiping grime from the burners, and emptying out all the gunk that accumulates at the bottom.
What Not to Do
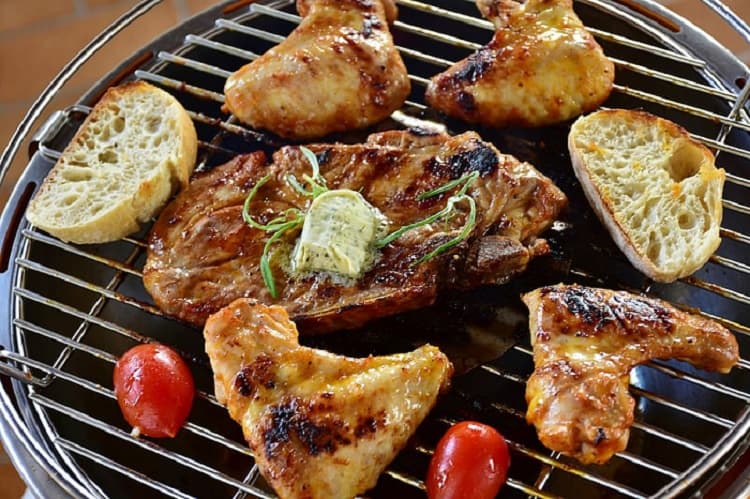
Alright, so we’ve covered prepping meat, getting the right tools, heating up the grill properly, and cleaning. There are lots of things to do – but what shouldn’t you do?
Overcrowding
Don’t overcrowd your grill!
It’s hard when you’ve got a ton of guests coming over and you want to get lots of food cooked quickly, but overcrowding can cause you more problems. The meat will cook but being in close proximity will cause it to go soggy, which is not what you want.
Walk away
Don’t walk away from your grill. Ever.
It sounds like such a simple thing to point out, but if you’re using a grill, you can’t leave it unattended. All it takes is for a kid to wander too close for a disaster to happen – if you need to leave, get someone to watch over it for you.
It’s also important to remember that even if you’re done grilling, the grill will remain hot for a long time. It’s a good idea to keep the kiddos away afterward until you’re sure it’s cool.
Keep touching the food
The phrase ‘don’t play with your food’ is pretty good life advice generally, but it also applies to grilling. If you’re constantly turning your meat, you won’t get the same depth of flavor and intense smokiness that you will get if you just leave it to do its thing. Resist temptation and leave it to cook!
Mix utensils
It’s easily done, especially if you’re busy talking and having a good time, but you should really avoid mixing your utensils. Placing raw chicken onto a grill and then removing a cooked steak using the same tongs can give your guests food poisoning – find out more about food poisoning and cross-contamination here.
FAQs
Grilling isn’t always the healthiest choice, but there are ways to make it a bit better for you:
– Choose lean cuts of meat
– Cook a good amount of veggies alongside the meat
– Choose chicken or fish over red meat
– Go for a marinade or rub – this can help to reduce the formation of HCA’s (heterocyclic amines – this is the name for compounds that are created when meat cooks at high temperatures or over open flames. HCA’s have been linked to changes in cell structures that can lead to certain types of cancer).
After a few minutes of grilling, rotate your steaks 90 degrees – and then leave it alone until it’s done!
Ideally, you will be able to call people over to grab fresh food straight out of the grill, but if you want to keep it warm while you cook in batches, just wrap it up in foil. That’ll keep it nice and hot while you work on the rest.
Get yourself an app! There are apps out there that remind you when it’s time to flip your steaks, give you recipe ideas, and more. Photo Cookbook – Barbeque Cooking on iOS is a great example (Photo Cookbook is free, but the Barbeque Cooking part is an in-app purchase).
Conclusion
Hopefully, this has helped you to up your grilling game – like a lot of things, the key to good grilling is in the prep work. Follow these tips and you should be left with delicious food – and happy friends and family members!
